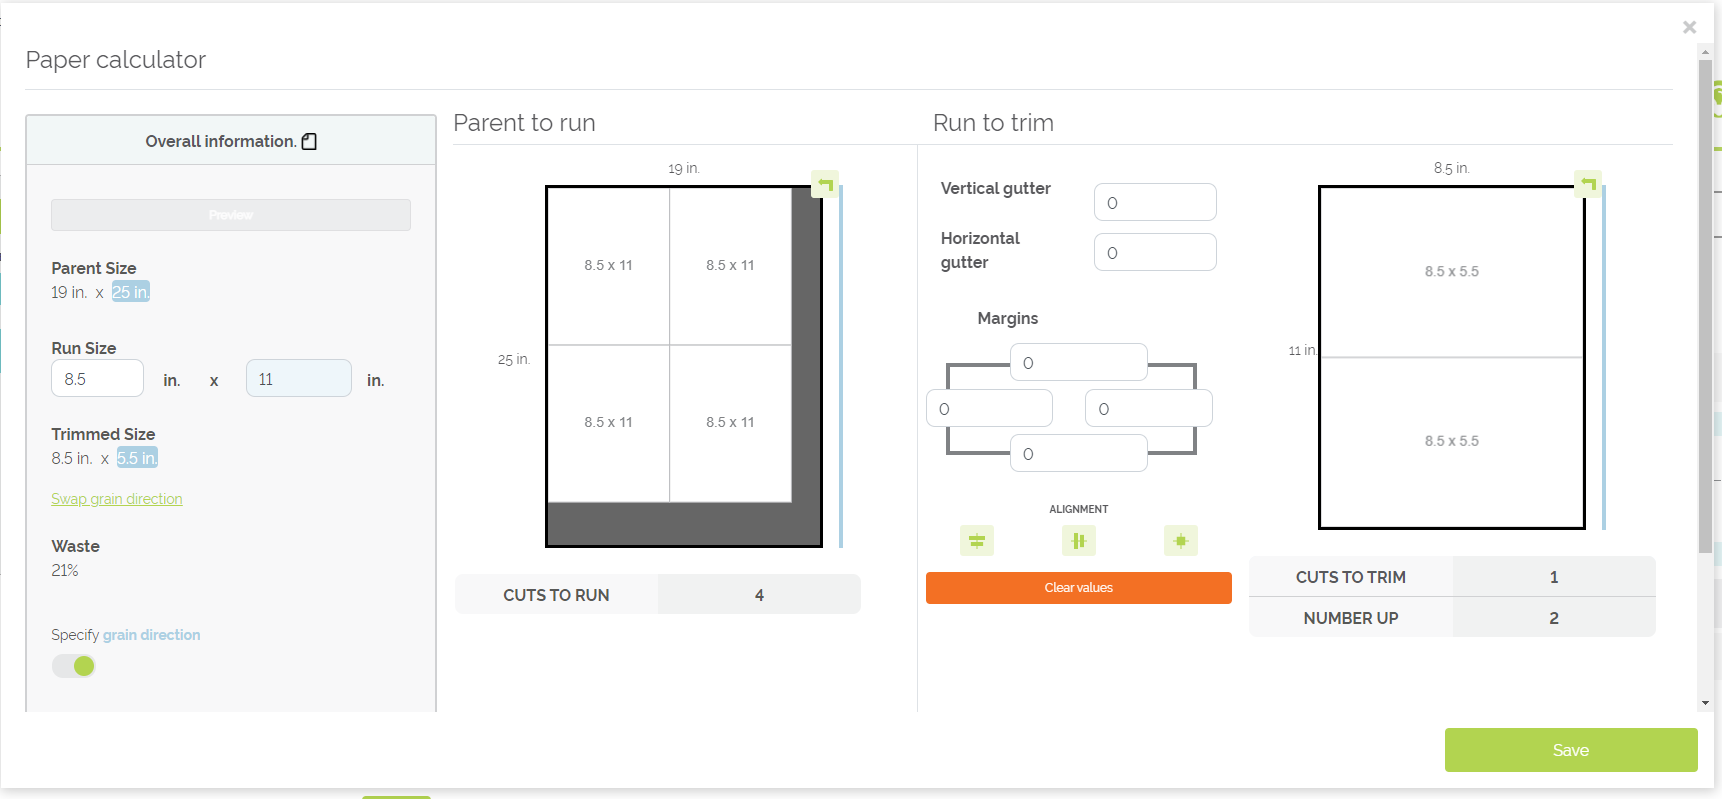
Odyssey has a built-in 'Paper Calculator' tool that will automatically determine the number of cuts and waste that is needed to take a piece of paper from it's parent size, to it's run size, and finally, to it's finished trim size.
Example of needing to use the 'Paper Calculator' tool: An online order is placed for 1000 announcements, the final size being 5.5 in. x 8.5 in. There are three processes for this workflow: Cut Parent to Run Size, Digital Printing, Trim Press Sheet to Finished Size. Within the Simple Workflow editor, we will use the Paper Calculator to determine exactly how these announcements go from their run size to the final size of 5.5 in. x 8.5 in.
To navigate to the Paper Calculator, first enter the editor for a Simple Workflow (Unfamiliar with Simple Workflows? Follow along here). Within the 'Processes' screen of the Simple Workflow Editor, there is a green button for 'Paper Calculation' in the top left hand side of the screen. (Note: If this button is "greyed out", check and ensure all of the processes have at least one item entered for their Process "Requirements")
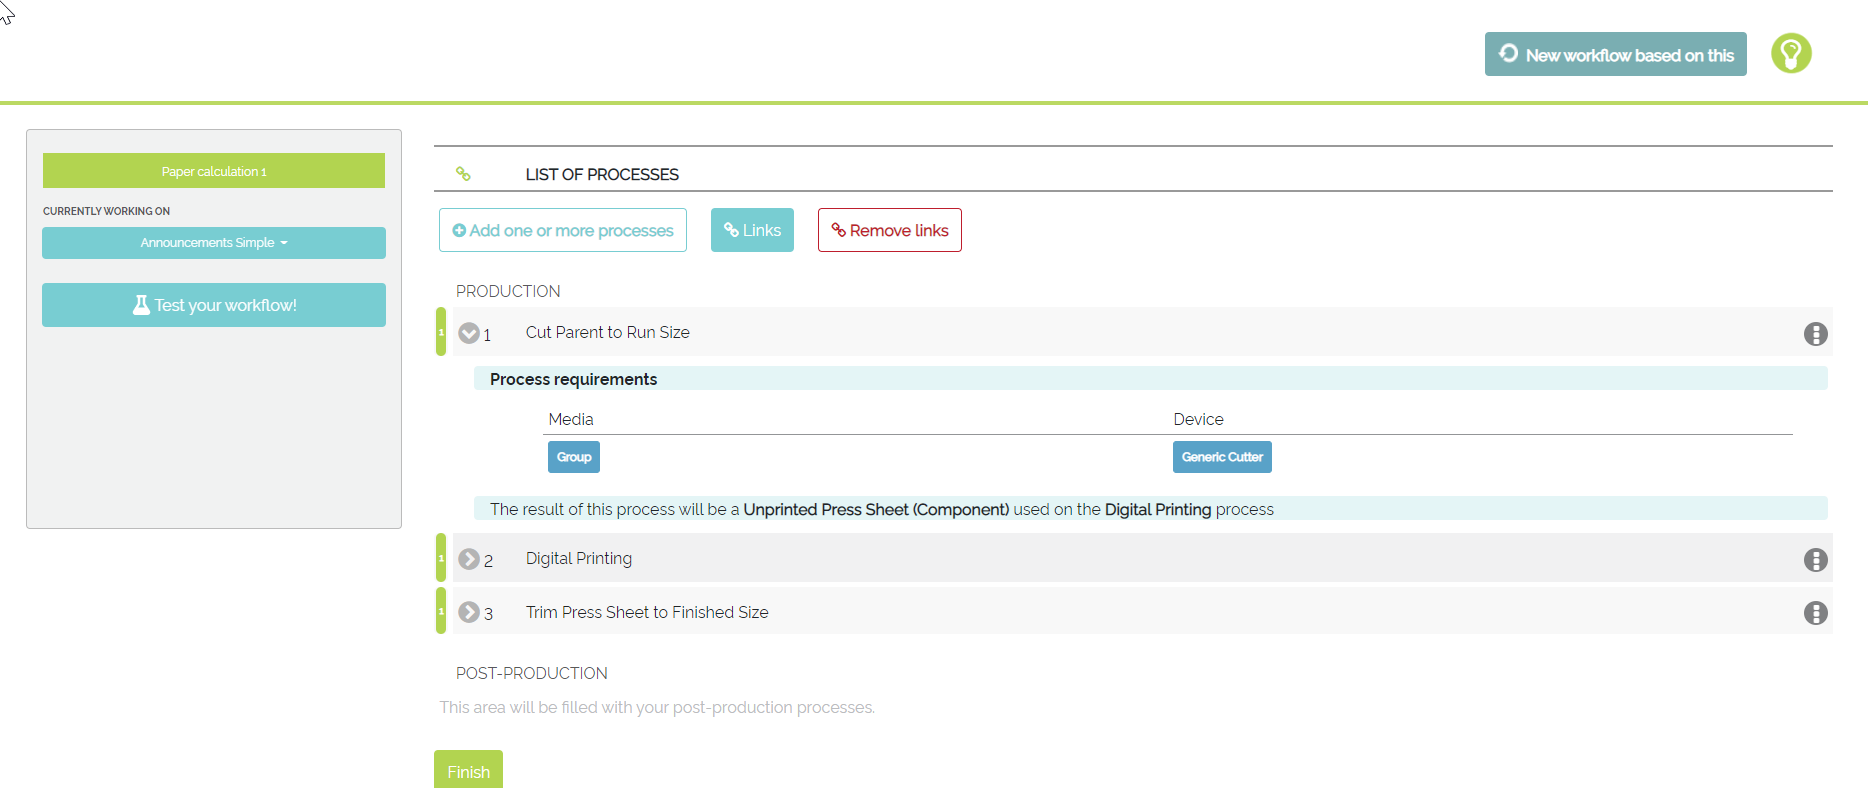
Example of the "Processes" Workflow Screen Which Houses the "Paper Calculator" Button
Once this button is selected, a user is taken to the Paper Calculator setup wizard. From this screen, select the "Start" button to move into the Paper Calculator.
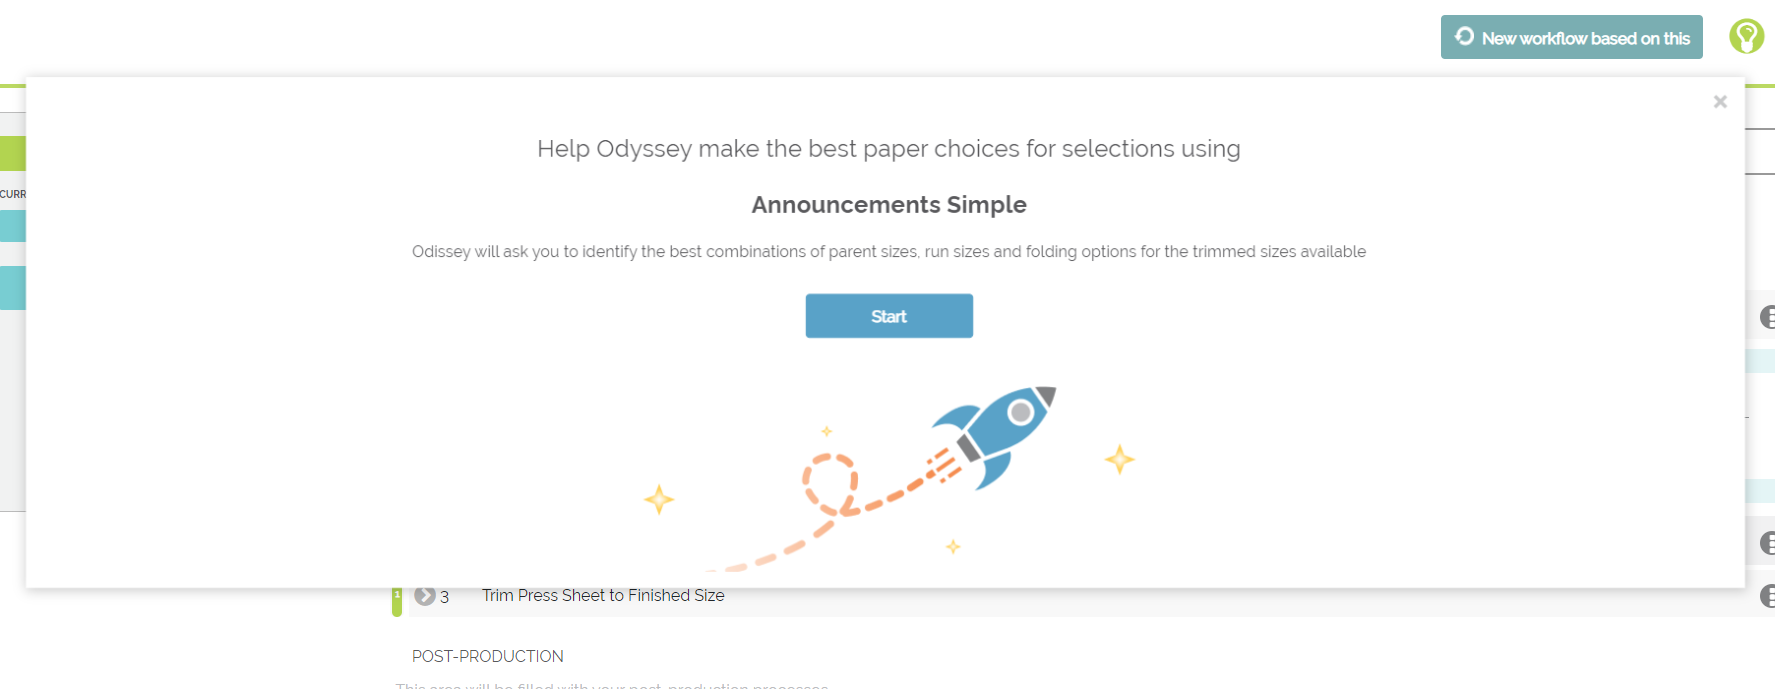
Example of the "Start" Screen for the Paper Calculator
After the "Start" button is selected, the "Trimmed Sizes" screen will display. This allows a user to select a trimmed size to work with. The options on this screen are directly related to the size options selected when originally setting up this Simple Workflow.
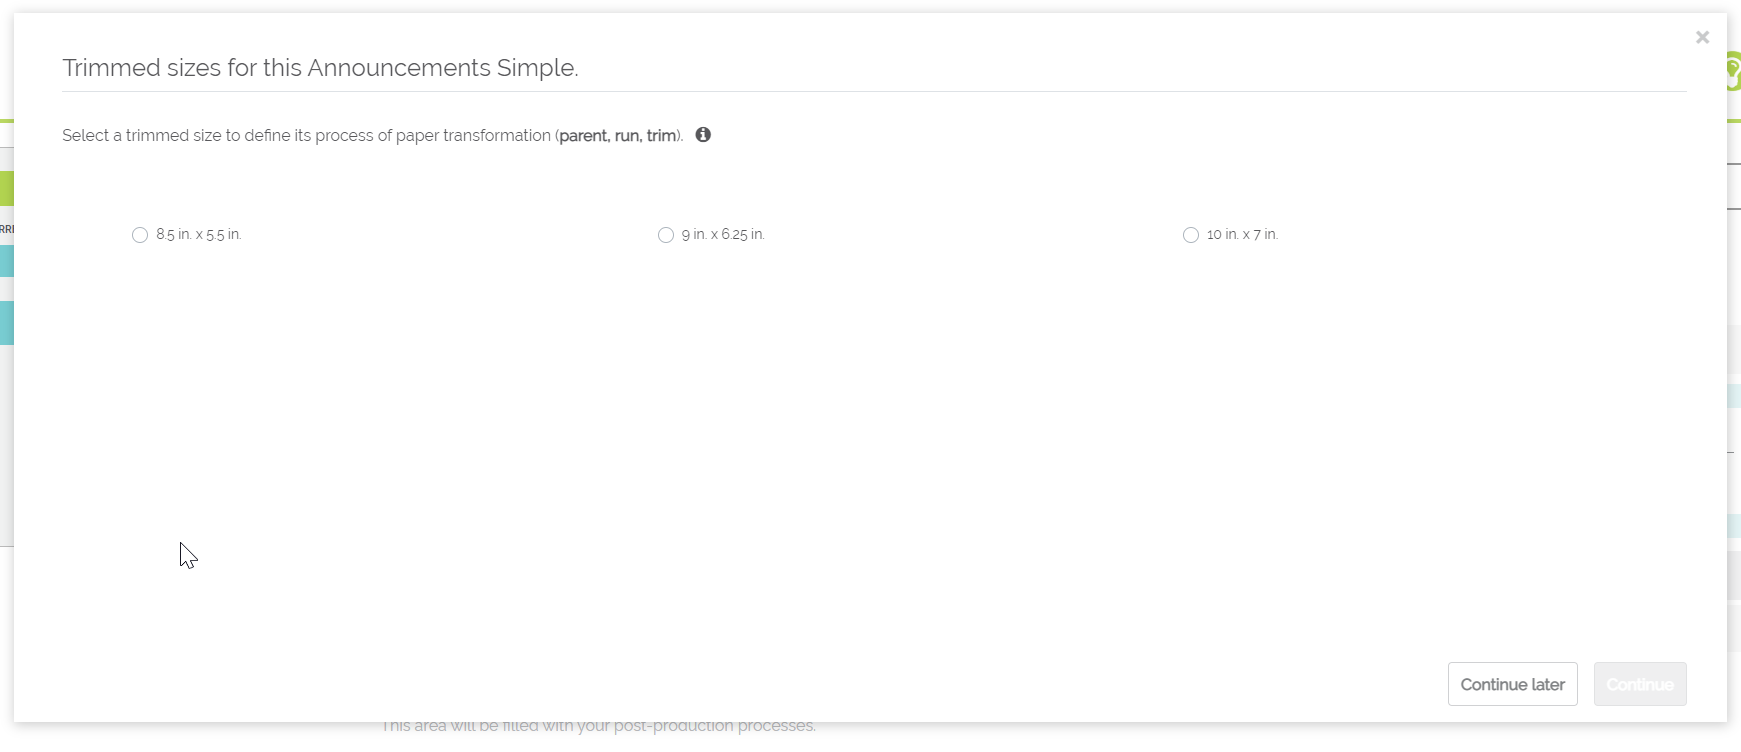
Example of the "Trimmed Sizes" Screen for the Paper Calculator
After the Trimmed Size is selected, a user has the option to select the Parent Size used to get to that Trimmed Size. The options on this screen will directly correlate to the Media added to the first process of the Simple Workflow.
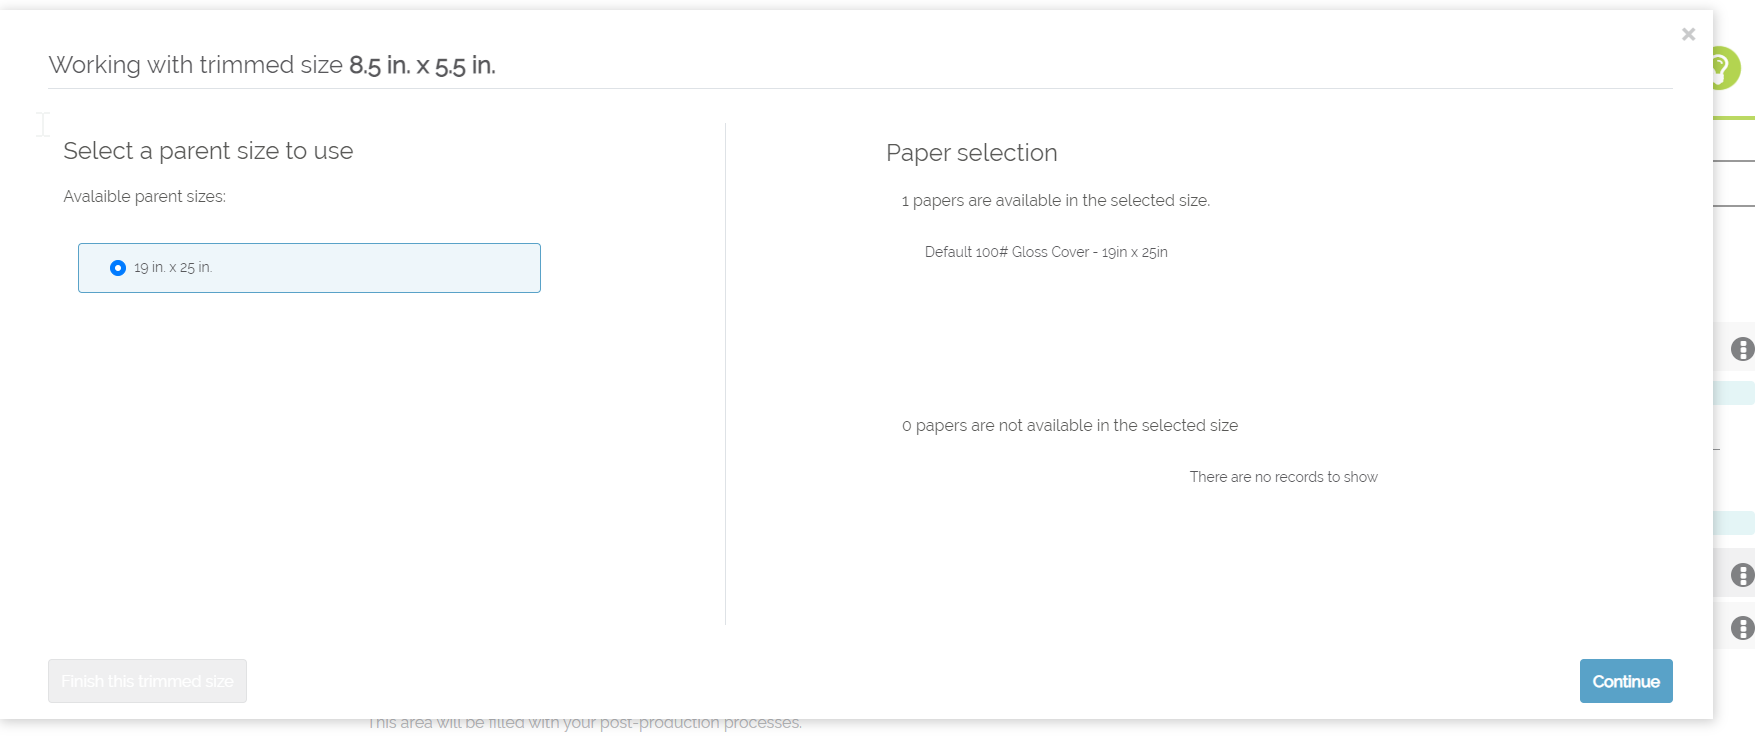
Example of the "Parent Size" Screen within the Paper Calculator
Once both the Trimmed and Parent Size are selected, the main Paper Calculator Screen is shown.
Example of the "Main Screen" of the Paper Calculator
On this main Paper Calculator Screen, a user has the ability to do the following:
- Enter in the Run Size under the Run Size text boxes
- Specify Grain Direction by flipping the Grain Direction switch
- Add Gutter in the Vertical and Horizontal Gutter text boxes
- Add Margins in the Margins text boxes
-
Add Alignments by using the three buttons under "Alignment" These three buttons are:
- Center Vertically
- Center Horizontally
- Center
- Swap the preview from Portrait to Landscape view
- Check the Waste Percentage Odyssey has automatically calculated
- Check the number of cuts needed that Odyssey has automatically calculated
Once the calculations are completed, select the "Save" option to save this configuration. From here, a user can go back through the Paper Calculator to add other Trimmed or Parent Sizes, edit the configuration for the Trimmed or Parent size already created, or test this workflow with the current Paper Calculation configuration.
